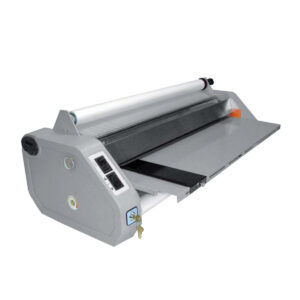
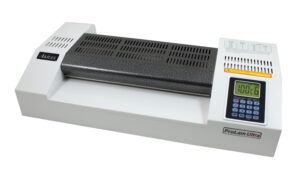
A Step-by-Step Guide on How to Use a Laminating Machine
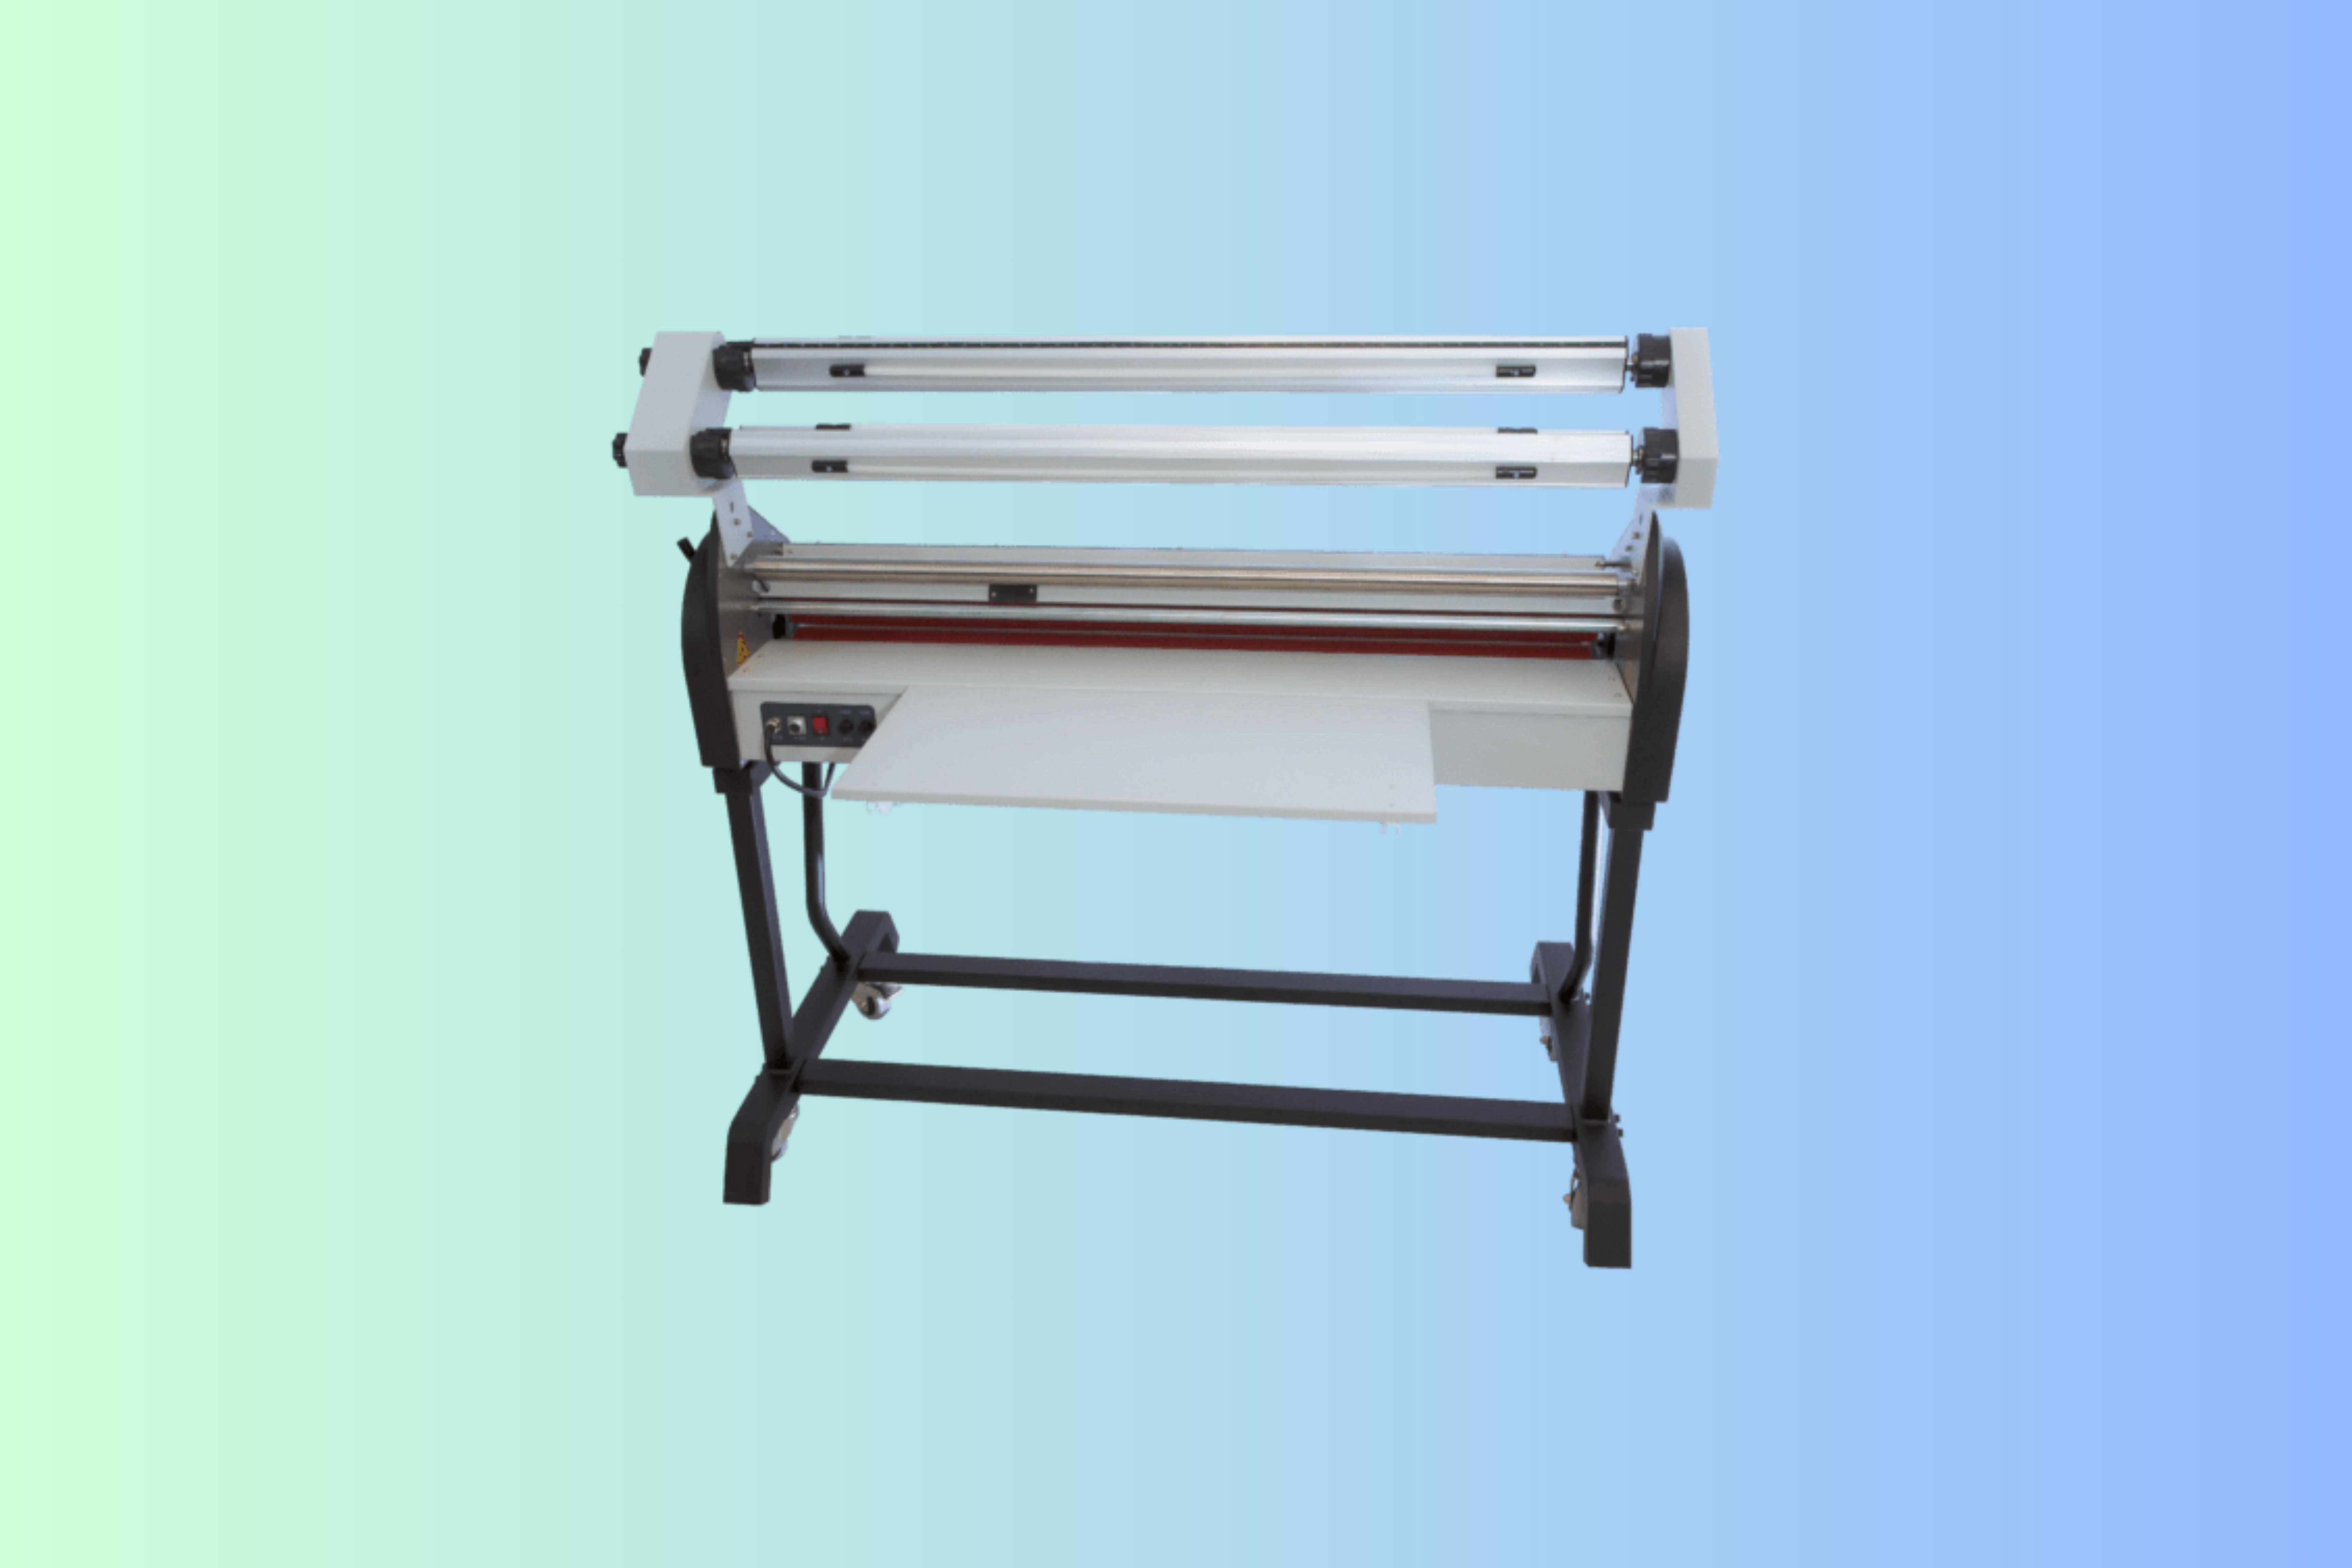
Have you ever wanted to protect important papers or make slick, durable cards? A laminating machine can do all that! It seals your documents between two clear plastic sheets, making them stronger and waterproof.
This guide will walk you through using a laminating machine, step by step. Whether you’re working on a school project or organizing your office, you’ll be a laminating pro in no time!
Supplies Checklist
Before we start, gather these things:
- A laminating machine
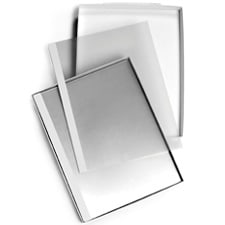
- Laminating pouches (clear plastic sleeves)
- The papers you want to laminate
- A flat, clean surface to work on
7 Steps to Follow for Easy Laminating
Using a laminating machine can be simple if you follow the correct steps. Here are seven steps to guide you through the process:
Step 1: Choose the Right Laminating Pouch
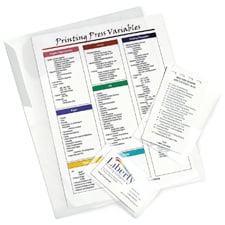
First, pick a pouch that fits your paper. Pouches come in different sizes:
- Letter size (8.5″ x 11″)
- Business card size (2.25″ x 3.5″)
- ID badge size (4″ x 3″)
Ensure your paper fits inside the pouch with a little border around the edges. This border gets sealed to protect your document.
Step 2: Turn on the Laminator
Plug in your laminator and turn it on. Most have a simple power switch. The machine will start warming up, which can take 3-5 minutes. A light or sound will tell you when it’s ready.
To be safe, remember that the laminator gets very hot. Never touch the inside of the machine or the shiny metal parts on the outside because of this.
Step 3: Insert Your Document
Open your laminating pouch and put your paper inside. Center it so there’s an even border all around. Close the pouch, making sure not to crease it. Now, find the pouch’s sealed edge. This is one side that’s already closed. Feed this sealed edge into the laminator first. This helps prevent wrinkles.
Step 4: Feed the Pouch Through
When the machine is ready, gently feed the pouch in with the sealed edge first. The laminator will grip it and pull it through. Don’t force or push it—let the machine do the work!
Step 5: Let It Cool
After the pouch comes out on the other side, your document is laminated! But it’s still hot. Let it cool down on a flat surface for a minute or two before handling.
Step 6: Trim Excess (Optional)
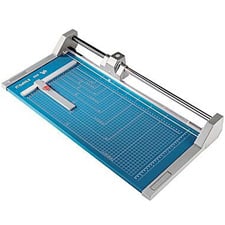
Some people like to trim excess laminate around the edges for a neater look. If you want to do this, use scissors or a paper trimmer after the laminate has fully cooled.
Be careful when trimming. Don’t cut too close to the seal, or you might break it, letting in air and moisture.
Step 7: Clean Up
When you’re done, turn off and unplug the laminator. Let it cool completely before storing it. Keep it in a safe place, away from water or anything that could fall on it.
Extra Tips for Perfect Lamination
Here are some extra pointers for achieving flawless lamination:
- Use the right temperature setting for your pouch thickness.
- Don’t laminate items that can melt, like crayons or wax.
- Avoid laminating the originals of important documents. Make copies first.
- Clean your laminator’s rollers occasionally with a damp cloth (when cool).
Are you ready to protect your important documents? Explore top-tier laminating machines at Filmsource Inc.! Discover the ideal laminator from our extensive collection. Contact us today for more information.


